Using Notion as your Database
Notion is easily one of the most influential productivity tools introduced over the last few years. It provides a single workspace for every team. More than a document or a table, it lets you customize your workspace in a way it works for you.
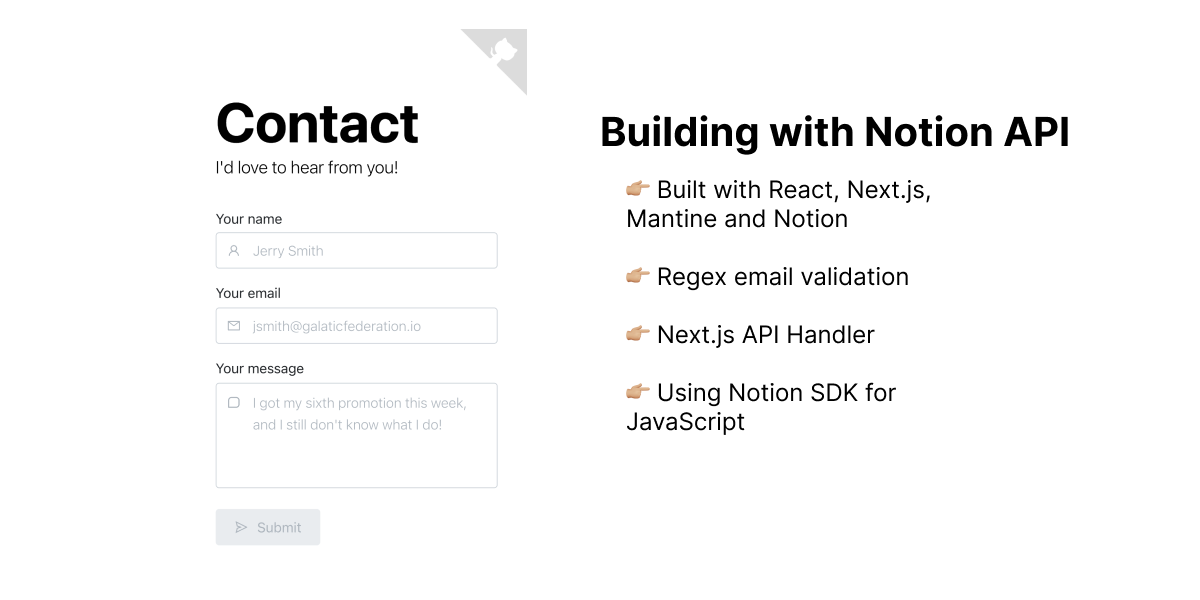
As of March this year, the Notion API is official out of beta, so let's go ahead and try it out by creating 'Contact Us' page.

We'll be using React, Next.js, Mantine and Notion (as our database). We will not be integrating authentication for this project, purposefully so to remove any friction and to allow anyone to send a 'Contact Us' message.
This is the live demo (so feel free to leave me a comment and try it out) and here's how to get our project started:
# React Typescript Next.js
$ npx create-next-app@latest --typescript
# Next.js Sass Support
$ npm i --save-dev sass
# Mantine
$ npm i @mantine/hooks @mantine/core @mantine/next @mantine/notifications
# React Icons
$ npm i react-icons --save
# Notion SDK for JavaScript
$ npm i @notionhq/client
Feel free to go ahead and grab a copy of the demo's GitHub Repo. There is no started project but you can feel free to grab whatever you need to get started.
Create your form
You will need to create a form to capture the user's contact message. I've decided to provide fields for: (a) User(name), (b) Email and (c) Comment. I'm using React's useState() API to manage my form's state. You can learn more about it here. The form's data structure I'm using looks like this:
type FormType {
    user: string;
    email: string;
    comment: string;
}
Once your form is created, let's focus on form submission. Let's take a look at what happens when the user submits his form:
const handleSubmit = async (e) => {
    /** Let's use this method to explicitly control the submission event */
    e.preventDefault();

    /** Email validation using a Regular Expression */
    let validation = formValidation(`${entry.email}`);

    /** If validation passes, send a POST request  */
    /** Our Next.js API will handle sending the data to Notion  */
    if (validation) {
        try {
            await fetcher("/api/contact", {
                method: "POST",
                body: JSON.stringify(entry),
            });
            /** Set form to initial state after form submission  */
            setEntry({ user: "", email: "", comment: "" });
        } catch (error) {
            console.log(error);
        }
    }
};
Form Validation
Form validation is taking place only at the email level. It's in our best interest that the user provides a valid email address and the easiest way to check this is by using a Regular Expression.
const formValidation = (email) => {
    /** The test() method executes a search for a match and returns true or false */
    let emailValidation = /^[\w-\.]+@([\w-]+\.)+[\w-]{2,4}$/g.test(email);

    /** If email validation fails set a state to pass a message to the form's field */
    !emailValidation &&
        setError({
            email: `Sorry! Looks like "${email}" is probably not a valid email!`,
        });

    /** Return the boolean results to continue/stop form submission */
    return emailValidation;
};
This step is completely optional but I would highly recommend making sure that the form at least has a valid email structure before submission. The regular expression is testing the following:
- First set (before
@): Finds any word character (alphanumeric & underscore),-and., - Finds an
@character, - Second set (after
@): Finds any word character and-, - Finds a
.character, - Third set (after
.): Finds any word character and-between 2 to 4 characters in length.
Of course, you can choose to alter this expression and decide what to consider as a valid email structure. Feel free to play with the expression here.
Setting up your Notion Integration
Before we discuss how our Next.js API's handler submits our form data to Notion. Let's explore how we set up our integration and what do we need.
- Visit Notion Developers and click on the top right link to View my integrations.
- Once there, click on Create new integration
- Fill out the required information and do not forget to enabled all Content Capabilities (Read, Update, Insert). You may need to have an existing notion workspace, if you don't have one, see here.
- Once you submit the form you will have access to your integration's Internal Integration Token, this is what we'll define and save in our project's environment variables as
NOTION_KEY. Drop this in your.env.localfile, here's more information on how to set environment variables in your Next.js project.
NOTION_KEY=<YOUR_INTERNAL_INTEGRATION_NOTION_KEY>
Environment variables is the way we will identify and authenticate our API handler to send data over to Notion. NOTION_KEY will authenticate our application to send HTTP Requests to Notion. Besides that, we also need: Database parent (here referred to as NOTION_CONTACT_DATABASE_ID) and User ID (which I recommend to assign an entry to a given User and get notifications of form submissions). So let's see how do we get these two ids:
Database parent
Here is a quick guide on creating a database. Once you have created your database you need to capture its ID and also enable it (Share it) with your integration. In your database options, you can click on Copy link to view and from that URL you can extract your database ID, here's an example of how that looks, it should be the first path before the v URL parameter:
https://www.notion.so/<NOTION_CONTACT_DATABASE_ID>?v=<...>
If paths and parameters look the same to you, you can reference this article: Anatomy of a URL.
User ID (Optional)
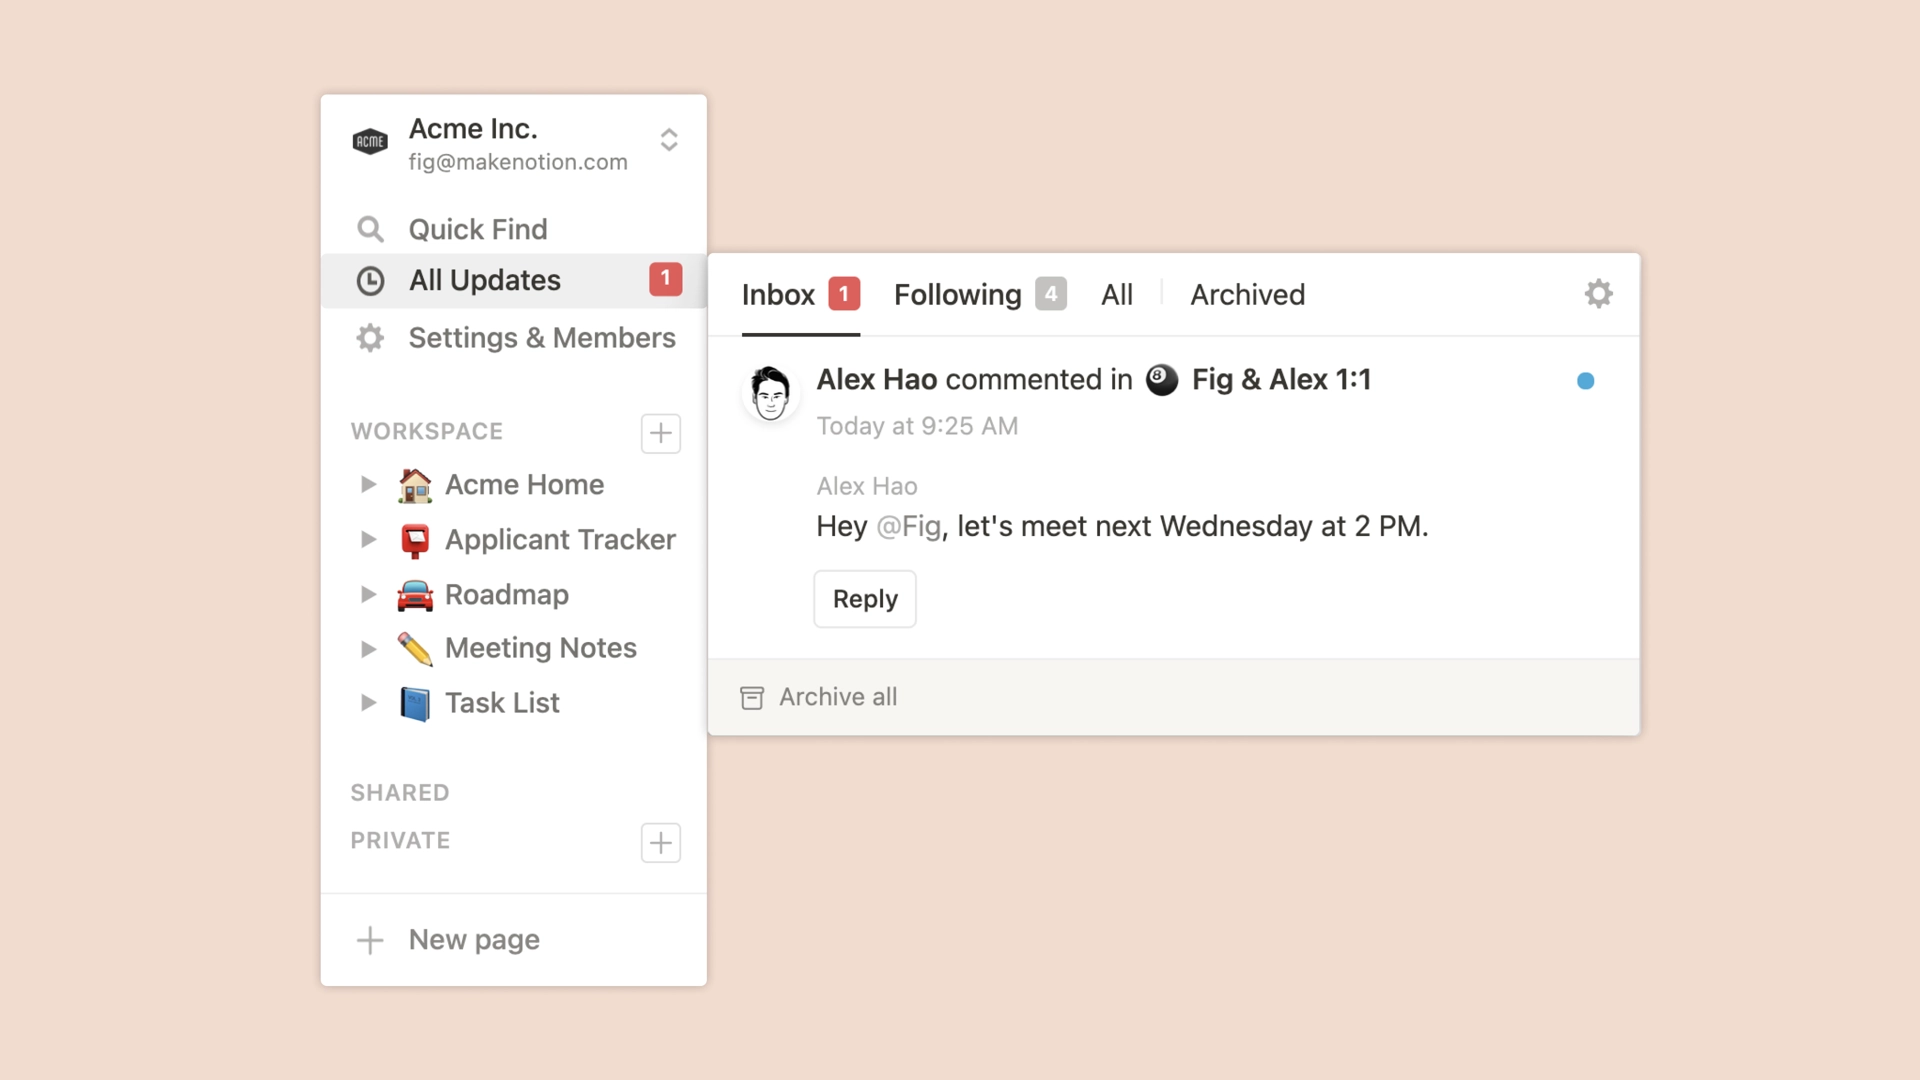
Updates and notifications help you stay on top of work that needs your attention, and changes made to the pages and projects you care about. So, in order to get an assigned user notified when a form submission comes in, we need this user's ID which would be included in the Workspace's Users List.

We will use a Shell snippet from List all users to make a request and get our User ID.
curl 'https://api.notion.com/v1/users' \
  -H 'Authorization: Bearer '"$NOTION_KEY"'' \
  -H "Notion-Version: 2022-02-22"
If you need help making this request, check out my Beginner's Guide to Working with APIs. Here, I'd recommend using Postman and doing the following:
- Import the cUrl Snippet,
- Add your
$NOTION_API_KEY, - Submit the request to retrieve the User Id.
The response should look something like this:
{
    "object": "list",
    "results": [
        {
            "object": "user",
            "id": "<NOTION_ADMIN_ID>",
            {...}
            "type": "person",
        },
        {...}
    ],
    {...}
}
You need to make sure to assign a Person type user and defined his/her ID in your environment variables as NOTION_ADMIN_ID (or your preferred variable name).
As a roundup, here's how your .env.local file should look like:
NOTION_KEY=<YOUR_NOTION_KEY>
NOTION_CONTACT_DATABASE_ID=<YOUR_NOTION_CONTACT_DATABASE_ID>
NOTION_ADMIN_ID=<YOUR_NOTION_ADMIN_ID>
Creating your Next.js API Handler
In your project directory, you should have a folder named 'API'. Here we will create a folder named 'Contact' and finally a file named index.ts (extension subject to your language). Whenever the API route /api/contact gets called, this file will handle the HTTP request. Here's what you need there:
/** Import Notion SDK for JavaScript */
import { Client } from "@notionhq/client";

export default async function handler(req, res) {
    /** Check the request's method before processing */
    if (req.method === "POST") {
        /** Parse the request body to access your data */
        const data = JSON.parse(req.body);
         /** Create your entry data using the required structure */
        const entry: any = {
            parent: {
                database_id: `${process.env.NOTION_CONTACT_DATABASE_ID}`,
            },
            properties: {
                Name: {
                    title: [
                        {
                            text: {
                                content: `Contact Entry`,
                            },
                        },
                    ],
                },
                User: {
                    rich_text: [
                        {
                            text: {
                                content: `${data.user}`,
                            },
                        },
                    ],
                },
                Email: {
                    email: `${data.email}`,
                },
                Comment: {
                    rich_text: [
                        {
                            text: {
                                content: `${data.comment}`,
                            },
                        },
                    ],
                },
                /** I'm using Tags to change entries state in Notion */
                Tags: {
                    type: "select",
                    select: {
                        name: "New",
                        color: "yellow",
                    },
                },
                /** Optional if you want to assign the entry to a user */
                Assigned: {
                    type: "people",
                    people: [
                        {
                            object: "user",
                            id: `${process.env.NOTION_ADMIN_ID}`,
                        },
                    ],
                },
            },
        };
        /** Authenticate your request */
        const notion = new Client({ auth: `${process.env.NOTION_KEY}` });
        const response = await notion.pages.create(entry);
        /** If the request is successful notify back */
        res.status(200).json(response);
    }
}
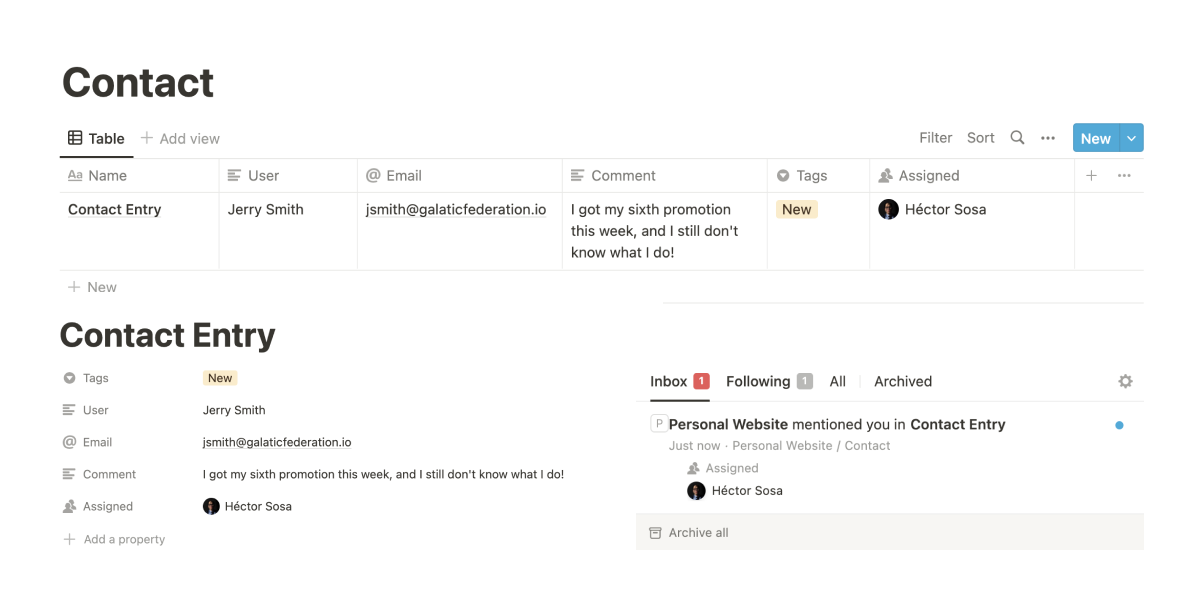
Here is Notion Documentation to Create a page. In a nutshell we are using the Notion database we created to create a page within it and populate our data in the page's properties. Let's take a look how would it look from Notion once our request is successful.

Conclusion
This is a great workflow to quickly set up comments, feedback forms, contact forms, newsletter subscriptions and a lot more. Let me know your thoughts on the possibilities of this stack and if you have any questions or suggestions, feel free to reach out!
Thanks for reading!